In this tutorial, we’re going to show you how to install Adminer on CentOS. This tutorial will work for any CentOS version, including CentOS 7 and CentOS 8, as well as Rocky Linux and Alma Linux.
Adminer is a database management editor in a single PHP file. A great alternative to phpMyAdmin. You can use Adminer with MySQL, MariaDB, PostgreSQL, SQLite, MS SQL, Oracle, Elasticsearch, MongoDB, and others.
Prerequisites
For this tutorial, you’ll need:
- The root user or a user with sudo privileges
- SSH access to the server (or just open Terminal if you’re on a desktop)
- A CentOS system. We tested this tutorial on CentOS 7 and CentOS 8 servers from Linode, but these instructions will work on any other RHEL-based distro. You can get a Linux VPS from any provider.
- A LAMP stack. We’ll show you how to install the stack below. If you already have a LAMP stack installed, you can skip to Step 5.
Step 1: Update CentOS
First, you need to update CentOS with the following command:
yum update
Step 2: Install Apache
Next, you need to install Apache with the following command:
yum install httpd
And start it:
systemctl start httpd
Step 3: Install MariaDB
The next step is to install the database server. In this case, we’ll be using MariaDB, but you can use MySQL or any other database server.
Run the following command to install MariaDB:
yum install mariadb-server
Check our How to install MariaDB tutorial for more detailed instructions, or if you want to use a newer version of MariaDB.
Start and enable the MariaDB service:
systemctl start mariadb
systemctl enable mariadb
And run the security script:
mysql_secure_installation
Step 4: Install PHP
The next step is to install PHP (the last part of the LAMP stack). To install PHP, run the following command:
yum install php
To install a newer version of PHP, follow our How to install PHP on CentOS tutorial.
If you’re using PHP 8, you’ll need to enable sessions (in your php.ini file)
Step 5: Download and configure Adminer
First, create a directory and cd to the directory for Adminer:
mkdir /var/www/html/adminer && cd /var/www/html/adminer
And download the latest Adminer version:
wget -O index.php https://github.com/vrana/adminer/releases/download/v4.8.1/adminer-4.8.1-en.php
You can get the latest version from here.
Update the ownership and permissions:
chown -R apache:apache index.php /var/www/html/adminer/
chmod -R 775 /var/www/html/adminer/
And restart Apache:
systemctl restart httpd
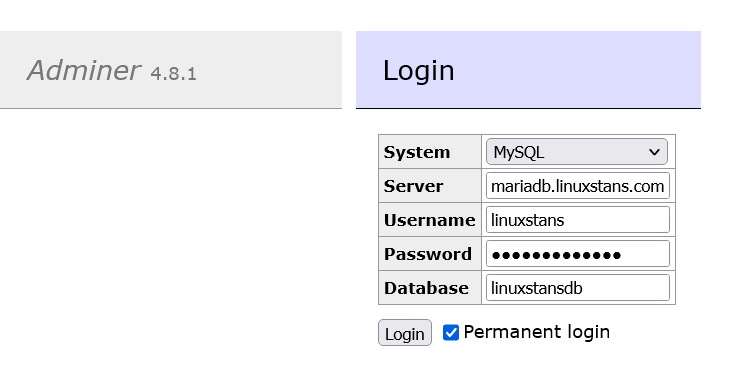
And that’s it. You’re done. You can now visit http://your-ip/adminer to start using Adminer. Next, you can optionally set up an Apache conf file, HTTPS, as well as other configs like using a subdomain for your Adminer.