In this tutorial, we’re going to show you how to install and use pCloud on Ubuntu. Follow our tutorial to install pCloud and learn how to use it through beginner-friendly instructions.
pCloud is one of the best cloud storage services for Linux. It’s probably the first choice for many Ubuntu users.
You can use pCloud via the web version or the CLI version, but they also have a GUI client app that comes in handy with extra features. This tutorial is for the pCloud Drive client app for Linux.
This tutorial will work on all Ubuntu versions, including Ubuntu 22.04, Ubuntu 24.04, Ubuntu 23.10, etc.
Step 1: Install libfuse2
First, you need to install libfuse2 because the pCloud installation file doesn’t include it.
To install libfuse2, run the following commands in Terminal:
sudo add-apt-repository universe
sudo apt install libfuse2
Step 2: Download pCloud
Next, you need to download pCloud. You can do it via their website (Download page), or just use these direct links:
This will download pCloud in an AppImage format.
Step 3: Make pCloud executable
Now, we need to make the pCloud file executable:
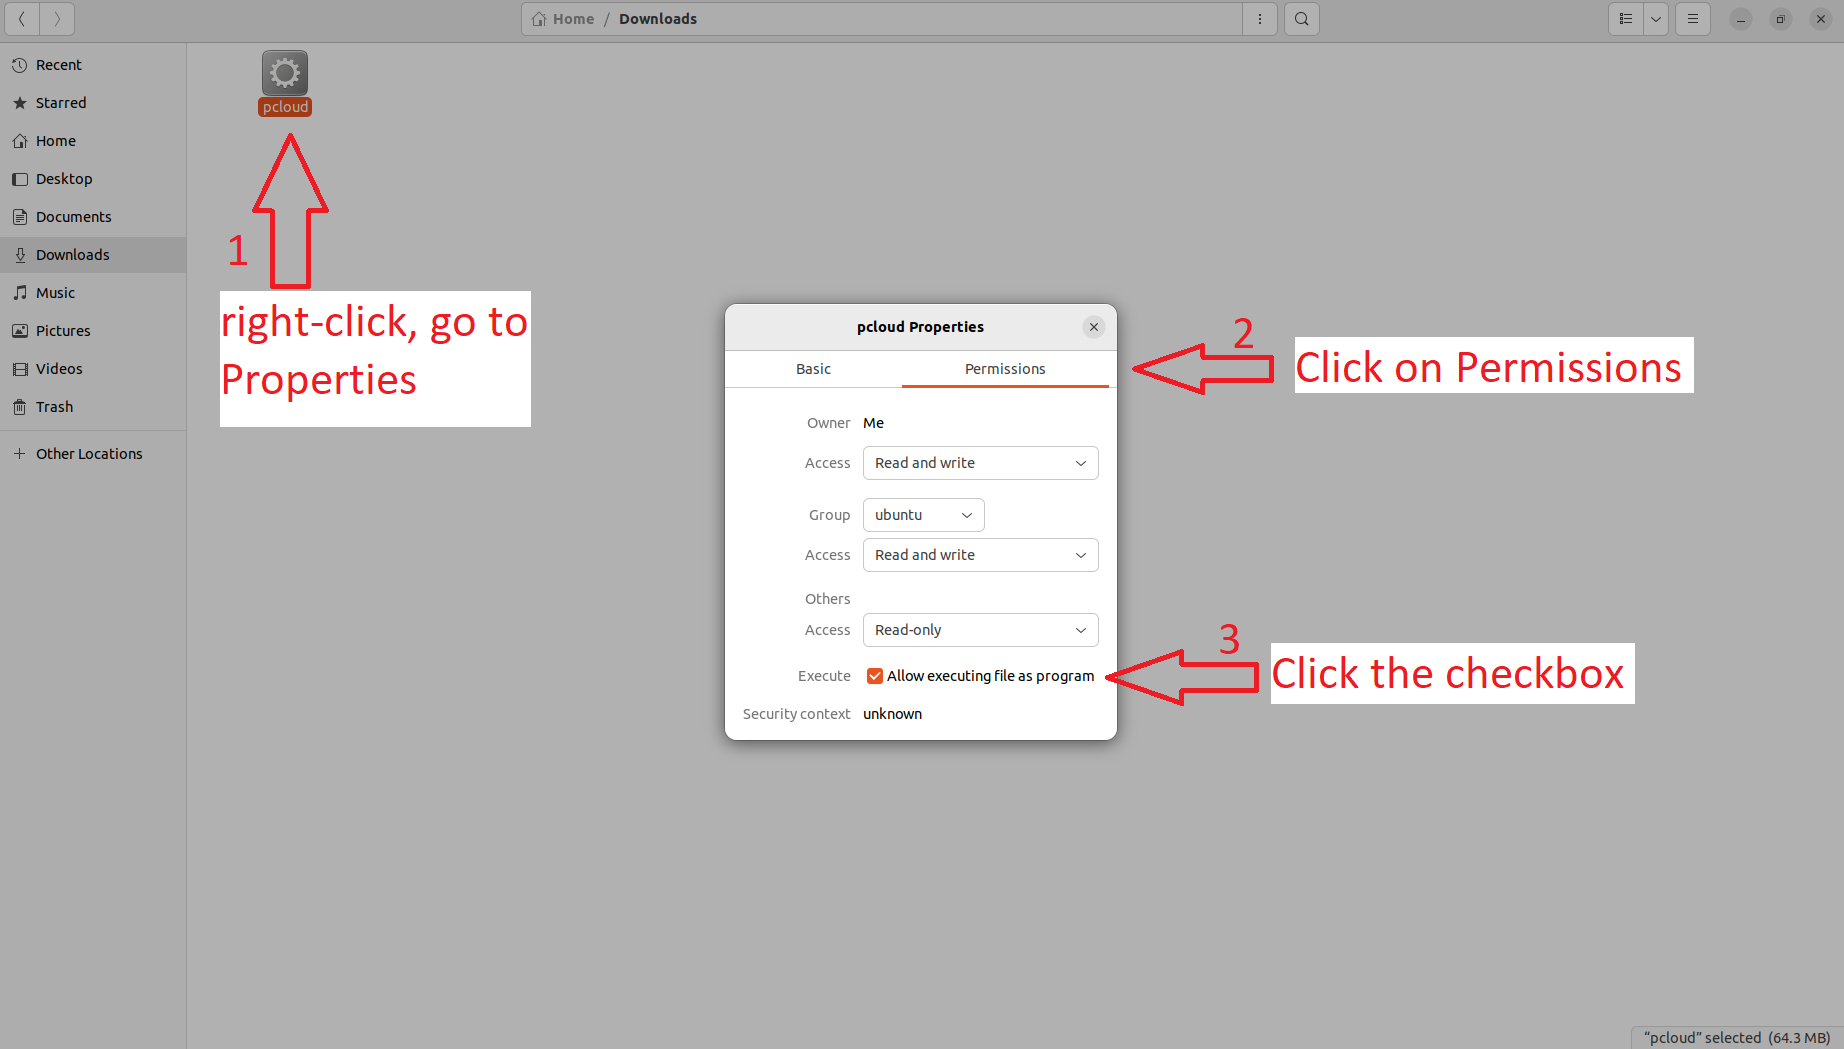
- Right-click on the file you just downloaded and click on Properties
- Click on the Permissions tab
- Click the checkbox for Execute: Allow executing file as program
That’s it. You can now close the Properties window and run the pCloud program by opening the file
Step 4: Sign in and configure pCloud
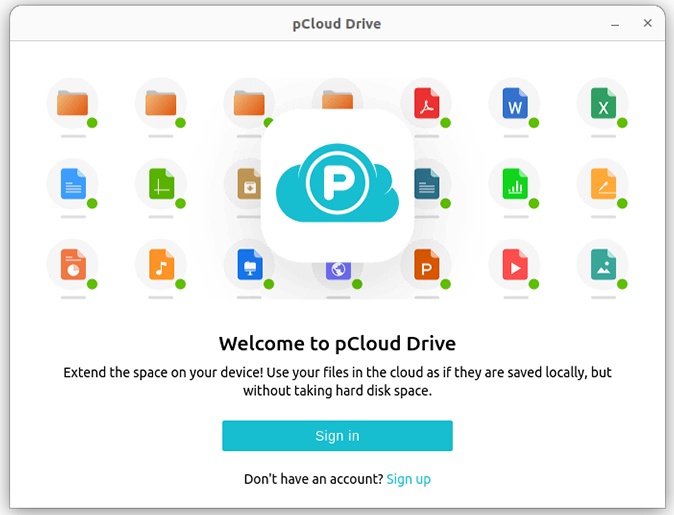
Once you run the pcloud file, you’ll get a window with the option to Log in or Sign up. If you’re not already signed up, you can sign up for free here.
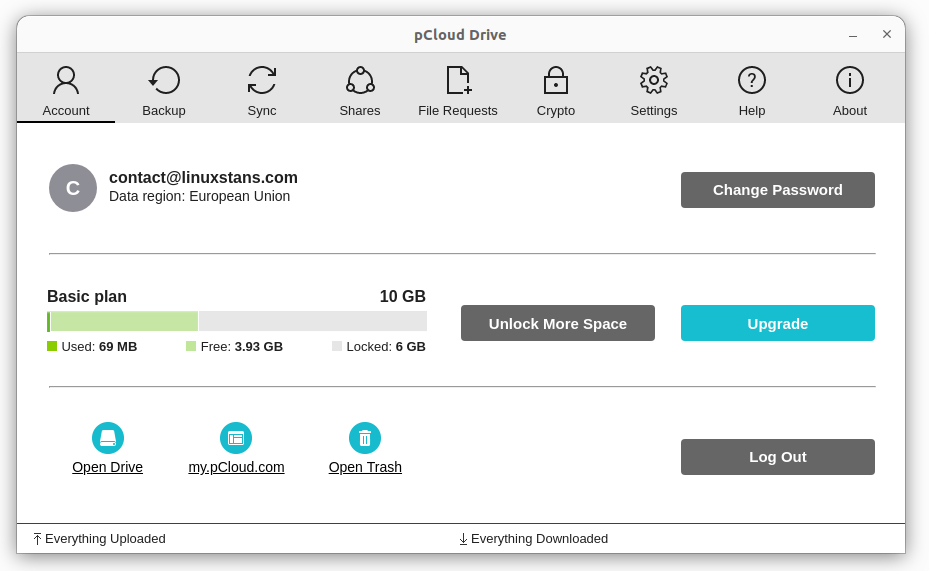
After you sign in, the program will display a few messages introducing pCloud and its features. You can uncheck the “Show introduction every time pCloud Drive starts.” checkbox to turn off this introduction.
pCloud will automatically start on boot by default, and it’s going to appear in your taskbar (notification/clock area) by default.
If you want to disable pCloud to start on system launch, go to the app -> click on the Settings tab -> uncheck the “Start pCloud Drive on system startup” option.
If you want to add pCloud to your launcher, follow the steps below. We also included other instructions below on how to configure pCloud, although at this point is pretty much all set up and good to go.
(Optional) Step 6: Add pCloud to the launcher
To add a pCloud shortcut/icon to the launcher, just follow these steps:
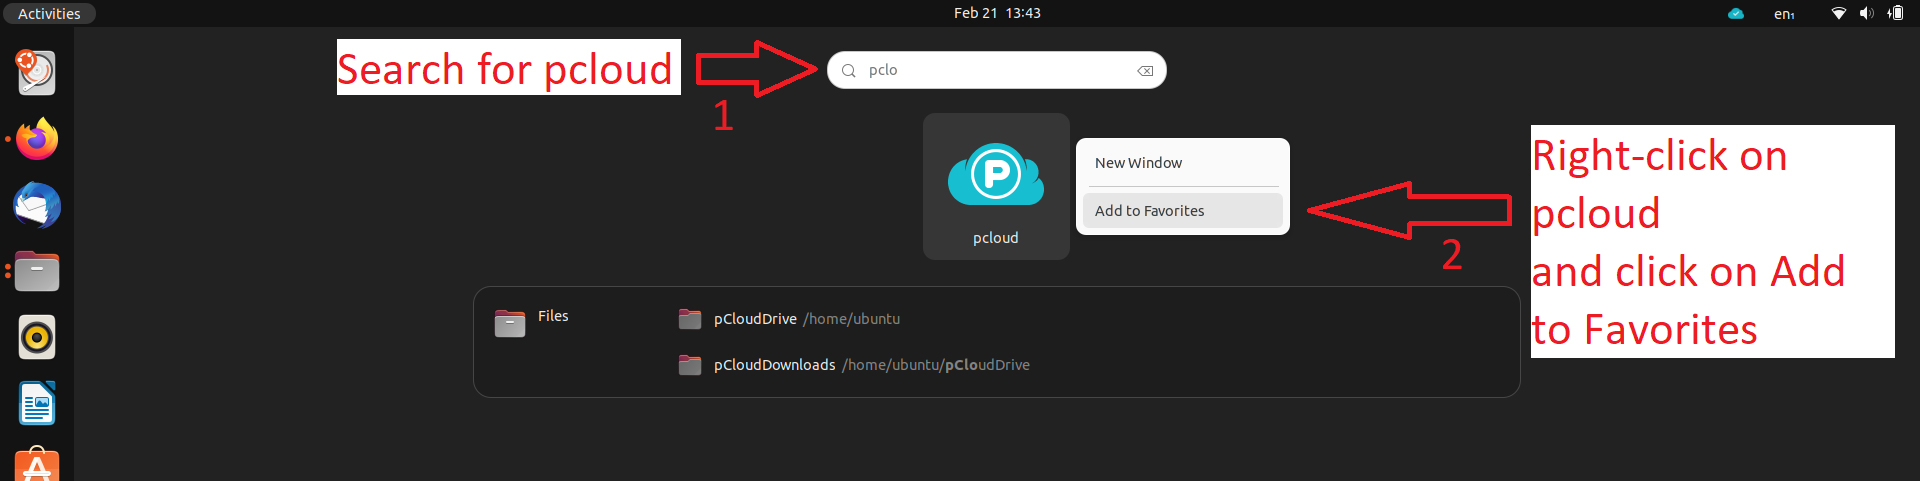
- Click on the “Windows” button to open up the Activities window and search for “pcloud” and the pCloud application icon will appear.
- Right-click the pcloud icon and click on “Add to Favorites”
And that’s it. pCloud will be added to your favorites/launcher.
(Optional) Step 7: Sync other folders with pCloud
Another useful feature that pCloud has is that you can sync other folders from your system with pCloud. By default, pCloud only syncs folders within its own “pCloudDrive”
To set up a new folder to sync with pCloud, follow these steps:
- Go to the app, click on the “Sync” tab
- Click on the “Add New Sync” button
- Select the local folder (the one on your system that you want to be synced) and the remote pCloud folder (you can create a new folder of the same name in pCloud)
Once you set all that up, this is how it would look like if you synced your “Downloads” folder:
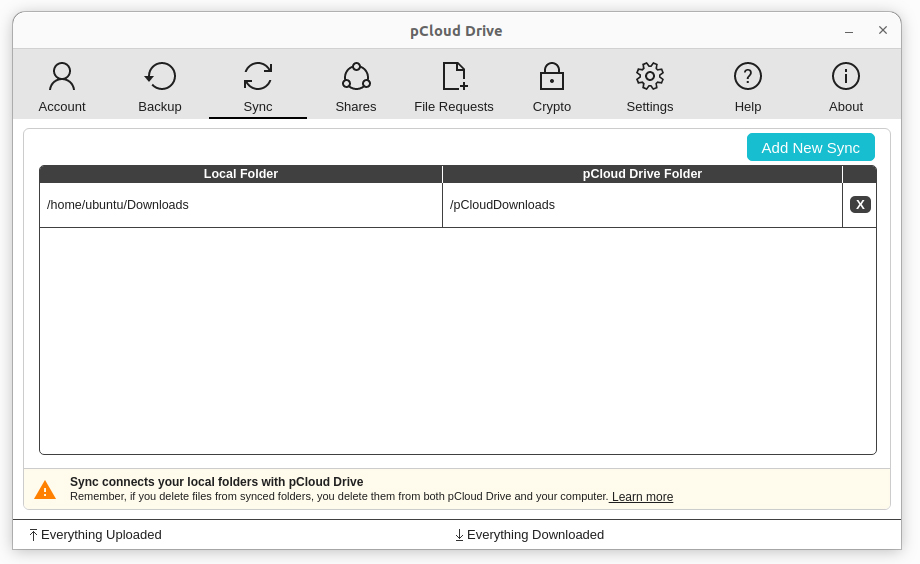
You can add multiple folders here to be synced. All the changes in the remote folder will be synced over to the local folder and vice-versa.
Explore more features
pCloud has many more features with its Linux client app, like sharing folders with other users, backing up important folders, limiting upload and download speeds, and more. Open the app and check out all the tabs and settings it has.

One thought on “How to Install pCloud on Ubuntu”
I would like to see overlay icons (uploaded/in progress/failed) in Nemo.
Is that possible? Pcloud says so, but only for Windows/Apple?