In this tutorial, we’re going to show you how to install Rocket.Chat on a CentOS 8 server.
Rocket.Chat is a great self-hosted alternative to Slack. You can even use it as a live chat for your website.
This tutorial should work for CentOS 9 and other CentOS versions too.
Rocket.Chat Requirements
The minimum server requirements according to the official Rocket.Chat docks are:
- Single-core (2 GHz) CPU
- 1 GB RAM
- 30 GB of SSD
This server should be ok for up to 50 active users and 200 users in total. The $5 VPS from Vultr meets those requirements.
You’ll need root access to the server.
Step 1: Update the server and necessary packages
The first step should always be updating the server:
yum update -y
Then, install a few necessary packages (if they’re not installed already):
yum install epel-release curl nano tar gcc-c++ make GraphicsMagick -y
Step 2: Install MongoDB
Rocket.Chat uses MongoDB as its database server. To install MongoDB, first create a repo file:
nano /etc/yum.repos.d/mongodb-org.repo
And add the following in the file:
[mongodb-org-4.4]
name=MongoDB Repository
baseurl=https://repo.mongodb.org/yum/redhat/$releasever/mongodb-org/4.4/x86_64/
gpgcheck=1
enabled=1
gpgkey=https://www.mongodb.org/static/pgp/server-4.4.asc
As of writing, the latest recommended MongoDB version is 4.4. It may be a different version by the time you’re reading this, so update the file accordingly.
Next, to install MongoDB, run:
yum install mongodb-org -y
Then enable MongoDB at boot and start the service:
systemctl start mongod
systemctl enable mongod
Next, set up a storage engine and replication for MongoDB with the following commands:
sed -i "s/^# engine:/ engine: mmapv1/" /etc/mongod.conf

sed -i "s/^#replication:/replication:\n replSetName: rs01/" /etc/mongod.conf
Check if everything is ok:
mongo --eval "printjson(rs.initiate())"
Step 3: Install Nodejs
The Nodejs version in CentOS 8’s repositories is 10.x, but Rocket.Chat should be run with a newer node version. To install node 12.x, run the following commands:
curl -fsSL https://rpm.nodesource.com/setup_12.x | bash -
yum install nodejs -y
Next, you should install inherits, n, and the node version required by Rocket.Chat (as of writing it’s 12.8.4, so check the official docs later.) Run the following commands to install them:
npm install -g inherits n
n 12.18.4
Step 4: Download, install and configure Rocket.Chat
The next step is to download the latest Rocket.Chat:
curl -L https://releases.rocket.chat/latest/download -o /tmp/rocket.chat.tgz
And extract it with the following command:
tar -xzf /tmp/rocket.chat.tgz -C /tmp
To install Rocket.Chat, navigate to this directory:
cd /tmp/bundle/programs/server
and run the following command:
npm install
Then, move the content to a new directory for Rocket.Chat (you can use a different one):
mv /tmp/bundle /opt/Rocket.Chat
Create a new user for Rocket.Chat:
useradd -M rocketchat && usermod -L rocketchat
And update the permissions:
chown -R rocketchat:rocketchat /opt/Rocket.Chat
Next, create a systemd file for Rocket.Chat:
nano /lib/systemd/system/rocketchat.service
With the following:
[Unit]
Description=The Rocket.Chat server by LinuxStans.com
After=network.target remote-fs.target nss-lookup.target nginx.service mongod.service
[Service]
ExecStart=/usr/local/bin/node /opt/Rocket.Chat/main.js
StandardOutput=syslog
StandardError=syslog
SyslogIdentifier=rocketchat
User=rocketchat
Environment=MONGO_URL=mongodb://localhost:27017/rocketchat?replicaSet=rs01 MONGO_OPLOG_URL=mongodb://localhost:27017/local?replicaSet=rs01 ROOT_URL=http://chat.linuxstans.com:3000/ PORT=3000
[Install]
WantedBy=multi-user.target
The file may be different depending on what folder you used for Rocket.Chat. Don’t forget to update the ROOT_URL with your own domain.
And now enable Rocket.Chat at boot and start the service:
systemctl enable rocketchat

systemctl start rocketchat
Step 5: Finish the installation
The final steps are to finish the installation using the Rocket.Chat setup wizard. Navigate to the domain you used for this installation (example.com:3000) and follow the self-explanatory steps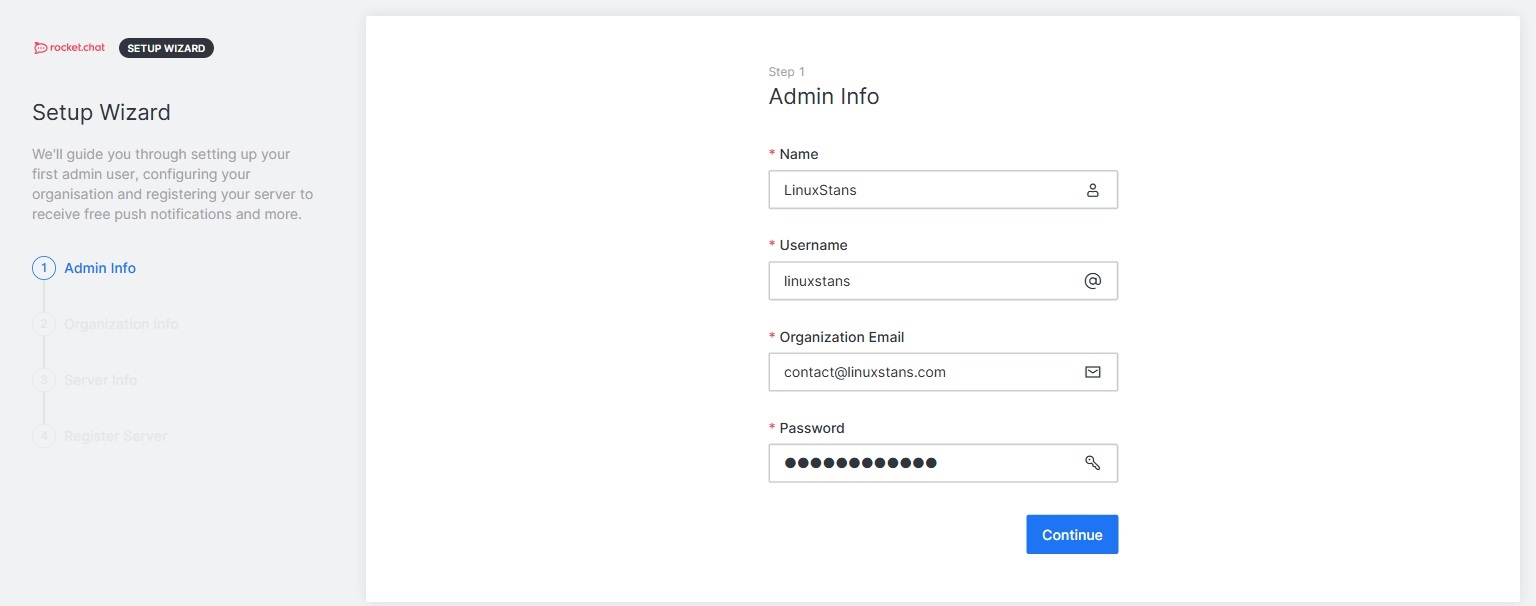
And that’s it! Rocket.Chat is now installed on your CentOS server.