Are you tired of that boring old standard bash shell you get after a generic install of your exciting new Linux OS? – if so, there are a few different shells to choose from, you have csh, ksh, bash, to name but a few;
In this tutorial, I will show you how to install, configure and customise the ZSH shell and make it how you want it. For this tutorial, I will be using an install of Manjaro Linux with XFCE desktop, however, the steps will be fairly similar across a broad variety of desktop environments and console terminals.
To refresh your memory, this is what the bog standard bash shell looks like:
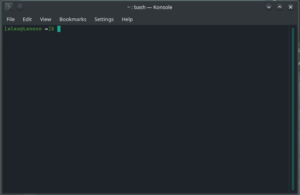

Boring right!
Let’s change this. Here is an example of what I have for my chosen setup. I’m using Powerlevel9k. It contains key operating system information, as well as including git/stash plugins to show where I am in the development cycle, and some vagrant plugins to show status of containers:
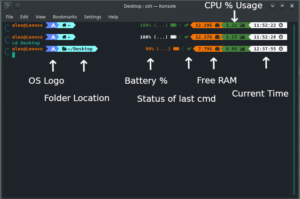

Here is an example of a git status (green for working branch unchanged, orange for uncommitted changes)
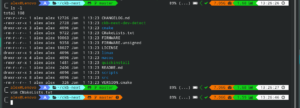

If this is the kind of thing that you are interested in, keep reading 🙂
Needless to say, I am starting with a fully up to date system, I will not go through how this is done, as it will be different depending on your distro of choice.
Right. Let’s make a start shall we?!
[Reminder: I am starting with a vanilla minimal web-install of Manjaro with XFCE desktop]
I am going to use the Powerlevel10k plugin for ZSH, while the documentation there is absolutely awesome, it can be a bit daunting for someone who just wants to get up and running ASAP.
Here is the git repository for this: https://github.com/romkatv/powerlevel10k#arch-linux
Let’s start by installing zsh (instructions for Arch based distros):
sudo pacman -S zsh
The next step relies on the AUR, and should be installed with care, assuming that you don’t have ‘yay’ installed, here is how to do it on Manjaro (will differ for Arch)
pamac install yay
You will also require the base devel packages (specifically binutil)
pamac install base-devel
Then let’s go ahead and install the powerlevel10k plugin
yay -S --noconfirm zsh-theme-powerlevel10k-git
echo 'source /usr/share/zsh-theme-powerlevel10k/powerlevel10k.zsh-theme' >>~/.zshrc
Next we will start zsh for the first time, and we should be prompted with a first-time startup configuration screen for Powerlevel10k like the following:
zsh
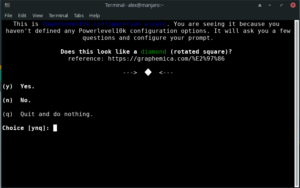

You will be prompted with a couple of questions, answer these as honestly as you can, don’t be shy, then you will be prompted to choose a default style – these are heavily customisable during and after this wizard a lot like everything else in Linux
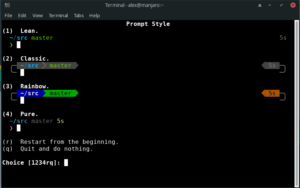

Run through these selecting whatever it is that tickles your fancy, you can always go back and run “p10k configure” again if you don’t like the output
Here is what I chose from the wizard
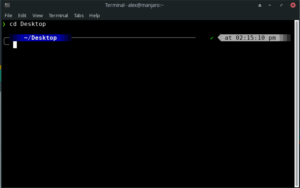

Additional customisation can be done by editing the “.p10k.zsh” file with your favorite editor. I’m using vim in this instance, but if you are not familiar with vim, and don’t fancy spending 6 hours trying to figure out the way vim works, I would suggest nano
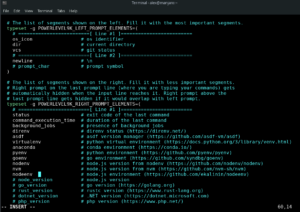

The above is pretty self explanatory, to put it simply, there are sections that have descriptions. What I am going to do here is enable dome additional info for the left part of the prompt, and the right part of the prompt, so that I have more OS info here. Let’s start with:
disk_usage
ram
battery
The result is:


You can really go to town with this configuration file – may be best to take a backup of this file if you intend to do heavy customisation.
Once you are happy, make zsh the default shell
sudo chsh -s $(which zsh)
There we go. At this point, the settings weren’t remembered by XFCE’s default terminal emulator, however a courtesy reboot solved this for me.
Enjoy!
Why not post snips of your .zshrc or .p10k.zsh to show me how you like yours.
