This article will shortly describe how to install Adobe Photoshop on Ubuntu Linux in several ways, in the Wine – Windows compatibility layer, and it will also provide a guide on how to install Wine. This article assumes a basic understanding of Ubuntu Linux.
Wine has become mature enough these days to run most of the software meant for Windows and thus provide comparable user experience both on Linux and Windows. This article will use the latest stable WineHQ version. Please use the latest stable version as a reference.
Also, the version of Photoshop we’re using here will be Adobe CC 2019 Photoshop, since older versions are more easily installed, so they will get some mention here. Please note that 3D functions are not yet working on the ported Adobe CC 2019 Photoshop version, but it might work on older versions that use the standalone non-mshtml installer version.
One of the biggest problems these days is that with the rising popularity and maturation of GNU/Linux systems, Windows installers are detecting that they are not running on Windows and thus refusing to install in Wine.
Older Windows programs, let’s say older than 2015, might install just fine, but newer software might require manual porting to Wine, meaning that you will have to manually copy files and folders to the corresponding Wine directory structure and perhaps import registry settings.
So if installing or porting does not work for you, please consider a GNU/Linux alternative software with the same or similar functions, because there are plenty of free and open-source tools that are very similar to Photoshop.
Only install or port Windows software if you really have to do so.
Most Linux game packages are based on Wine, because it is the oldest and most developed collaboration effort for running Windows software on Linux. If you want the best performance for your Windows application it is recommended that you get familiar with Wine and its sometimes tricky configuration, because let’s face it, Windows is itself tricky. Full of shortcuts, hacks, patches, backdoors, and registry configurations – it can be confusing and even tricky at some times.
It all depends on how much time are you willing to invest in installing or porting Windows software to Wine on Linux. If I discouraged you, then please choose a Linux alternative, free software from the end of this article.
Installing WineHQ
Installing WineHQ is very simple and it can be found on their website help page.
Find and open your terminal emulator and issue the following command then hit Enter:
sudo dpkg –add-architecture i386
This is for 32-bit compatibility. Then we select our Ubuntu version. I will use the Ubuntu 20.04 (Focal Fossa) version since it also applies to Linux Mint 20.x versions.
But first, we must download and add the repository key:
sudo mkdir -pm755 /etc/apt/keyrings
sudo wget -0 /etc/apt/keyrings/winehqarchive.key https://dl.winehq.org/winebuilds/winehq.key
Then we download the sources list:
sudo wget -NP /etc/apt/sources.list.d/ https://dl.winehq.org/wine-builds/ubuntu/dists/focal/winehq-focal.sources
Now that we have the updated list from the WineHQ website, we can update and install the WineHQ stable version:
sudo apt update
sudo apt install –install reccomends winehq-stable
If prompted to confirm the installation, press Y or yes.
Now we have installed WineHQ. If you have some problems or missing some dependencies, please visit the WineHQ wiki page for more help or leave a comment below.
Getting and Installing your Adobe Photoshop software
One thing we have to keep in mind when choosing an Adobe Photoshop version is that it should support Windows 7 since WineHQ is optimized for Windows 7.
So you can opt for an older version, download it, and install it by right-clicking on the .exe file and selecting “Open with Wine …”, then follow the installation instructions.
Or you can download Photoshop 20 (Adobe CC 2019), which is the latest Photoshop version that supports Windows 7, and install it in Windows (on a separate machine or in VirtualBox).
Then you should copy the following directory contents from:
C:\Program Files\Adobe
C:\Program Files\Common Files\Adobe
C:\Users\<username>\AppData\Local\Adobe
C:\Users\<username>\AppData\LocalLow\Adobe
C:\Users\<username>\AppData\Roaming\Adobe
to:
~/.wine/drive_c/Program Files/Adobe
~/.wine/drive_c/Program Files/Common Files/Adobe
~/.wine/drive_c/users/<username>/AppData/Local\Adobe
~/.wine/drive_c/users/<username>/AppData/LocalLow\Adobe
~/.wine/drive_c/users/<username>/AppData/Roaming\Adobe
According to my experience, no transfer of registry settings is needed from Windows to Wine for Photoshop to work.
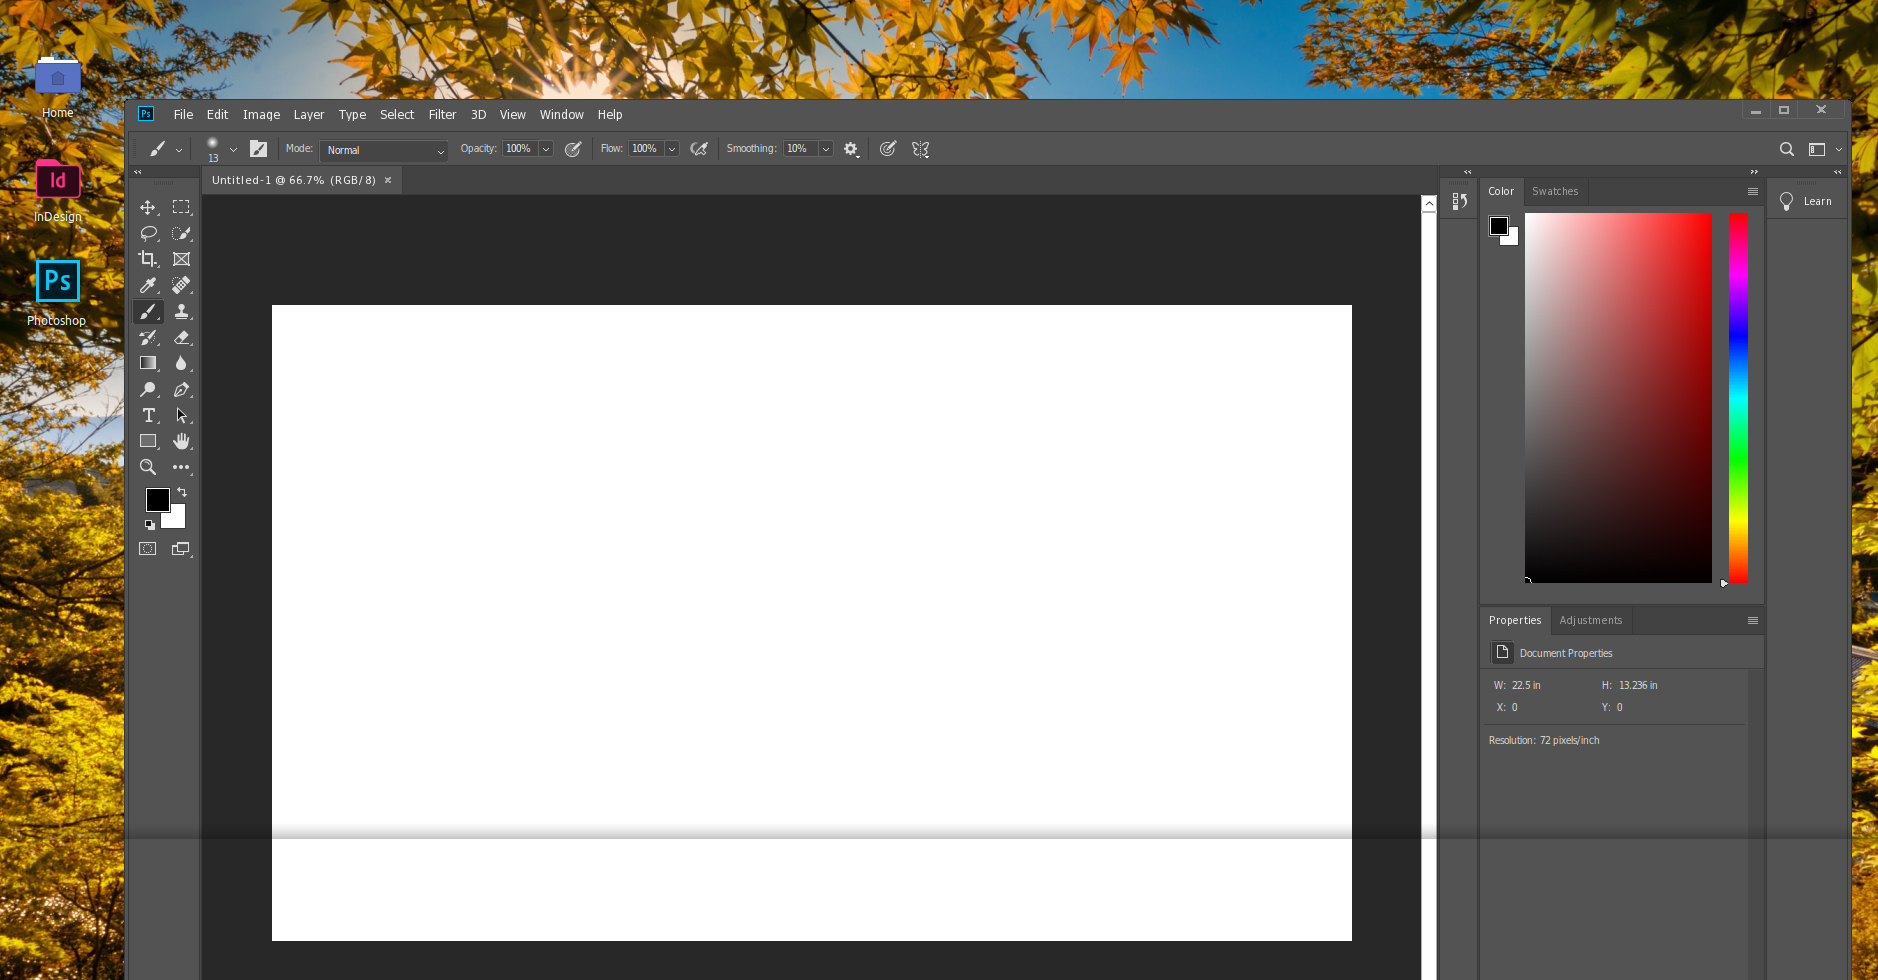
Running Photoshop
Now you issue the following command to run Photoshop:
wine ~/.wine/drive_c/Program Files/Common Files/Adobe/<insert any folder in path>/photoshop.exe
Please note that ~/.wine is a hidden folder in your home directory, so you must configure your file manager to show hidden files and folders.
Now your Photoshop should run just fine. You can also create a launcher on your desktop to photoshop.exe.
Portable Photoshop version on Linux
Alternatively, you can find a portable Photoshop version online. This one is simple!
Download the portable Photoshop archive and extract it to ~/.wine/drive_c/Program Files/Adobe then run photoshop.exe with Wine as described above. This is the simplest way possible to run Photoshop in Wine on your Linux machine.
Using WinApps to Install Photoshop on Linux
You can also check out WinApps on GitHub.
It uses a similar way of installing Adobe applications that I mentioned above. Please follow the link above, and see the guide on WinApps. It also helps you set up a Virtual Machine.
If you have NVMe storage, then it is better to use Adobe products, even Photoshop in a Virtual Machine, for example, VirtualBox, since that way you may use 3D functions if required. But remember, install Windows 7 on your Virtual Machine of choice.
Adobe Photoshop Alternatives for Linux
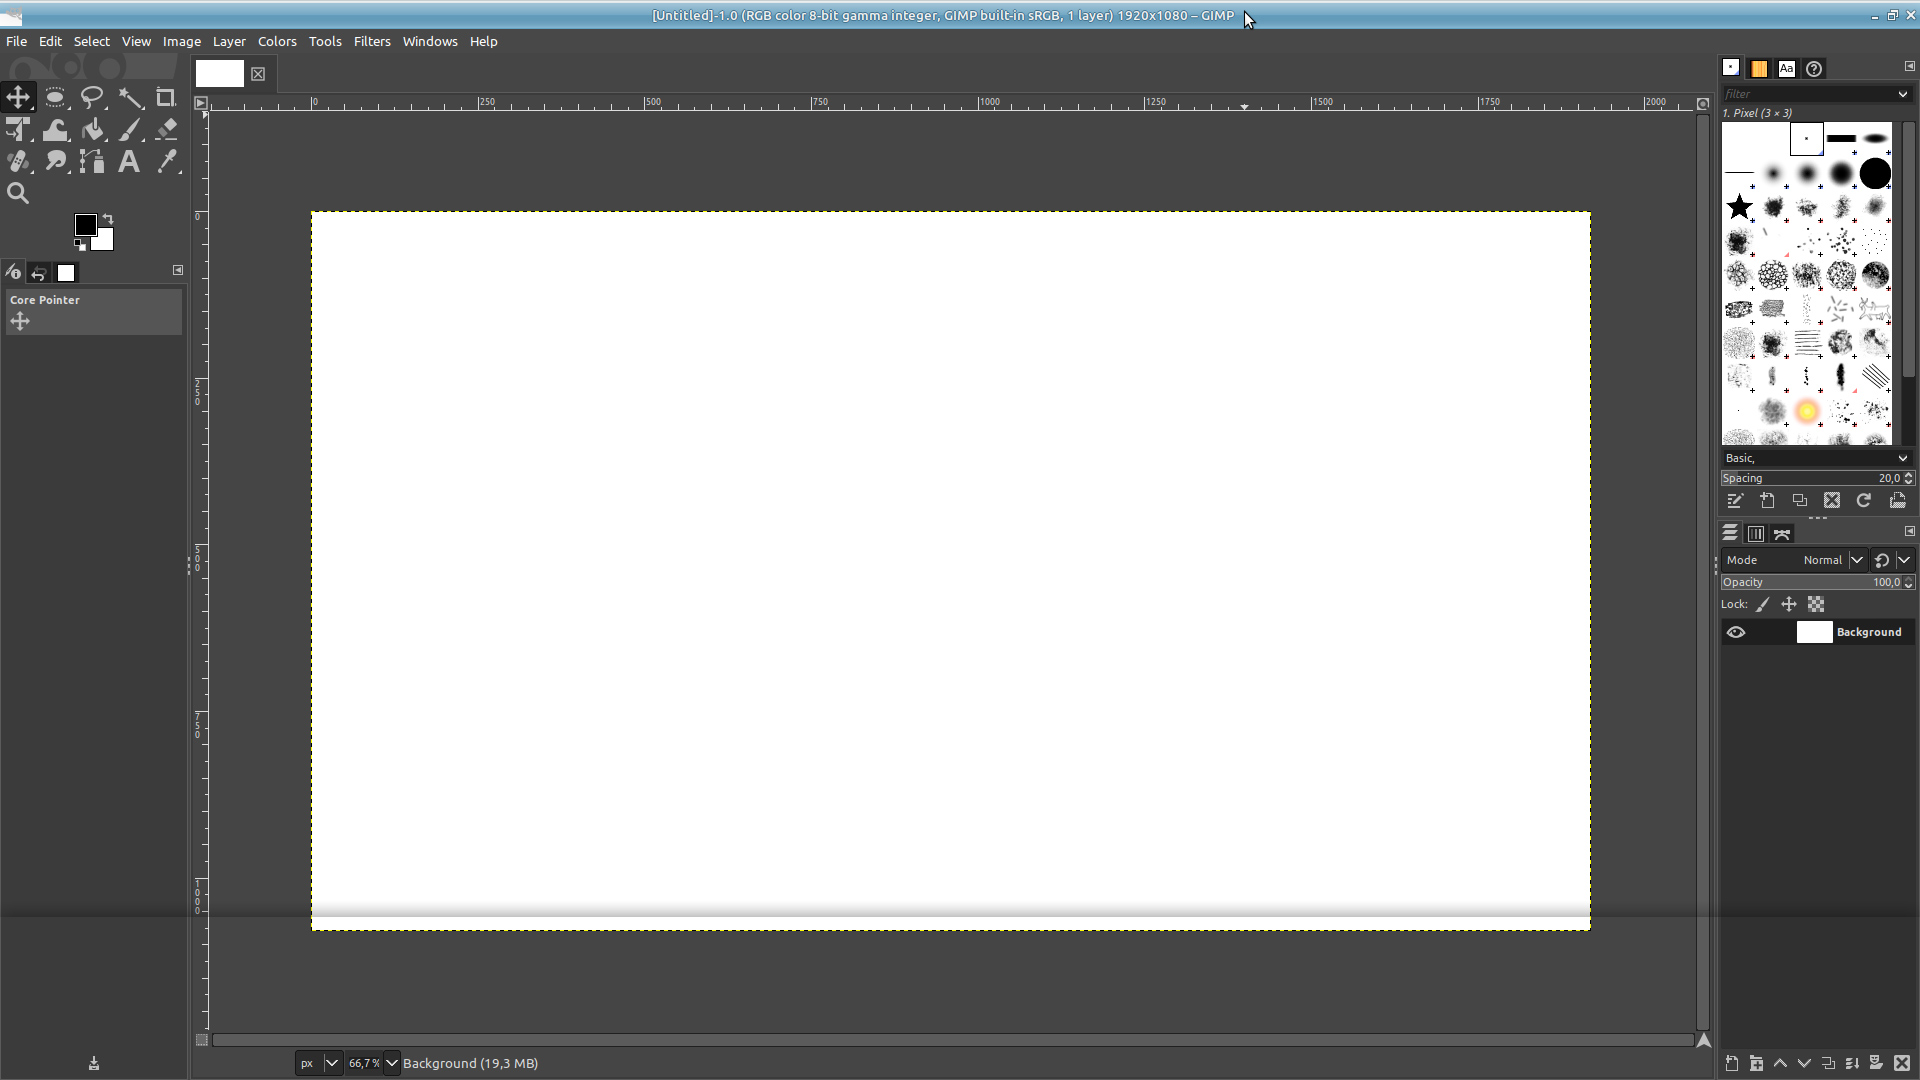
There are numerous alternatives to Adobe Photoshop, one of them is the GNU Image Manipulation Program – GIMP. It is not a “Paint program” for Linux, but it is a highly advanced image editing tool, flexible, and versatile, but its user interface differs from Photoshop.
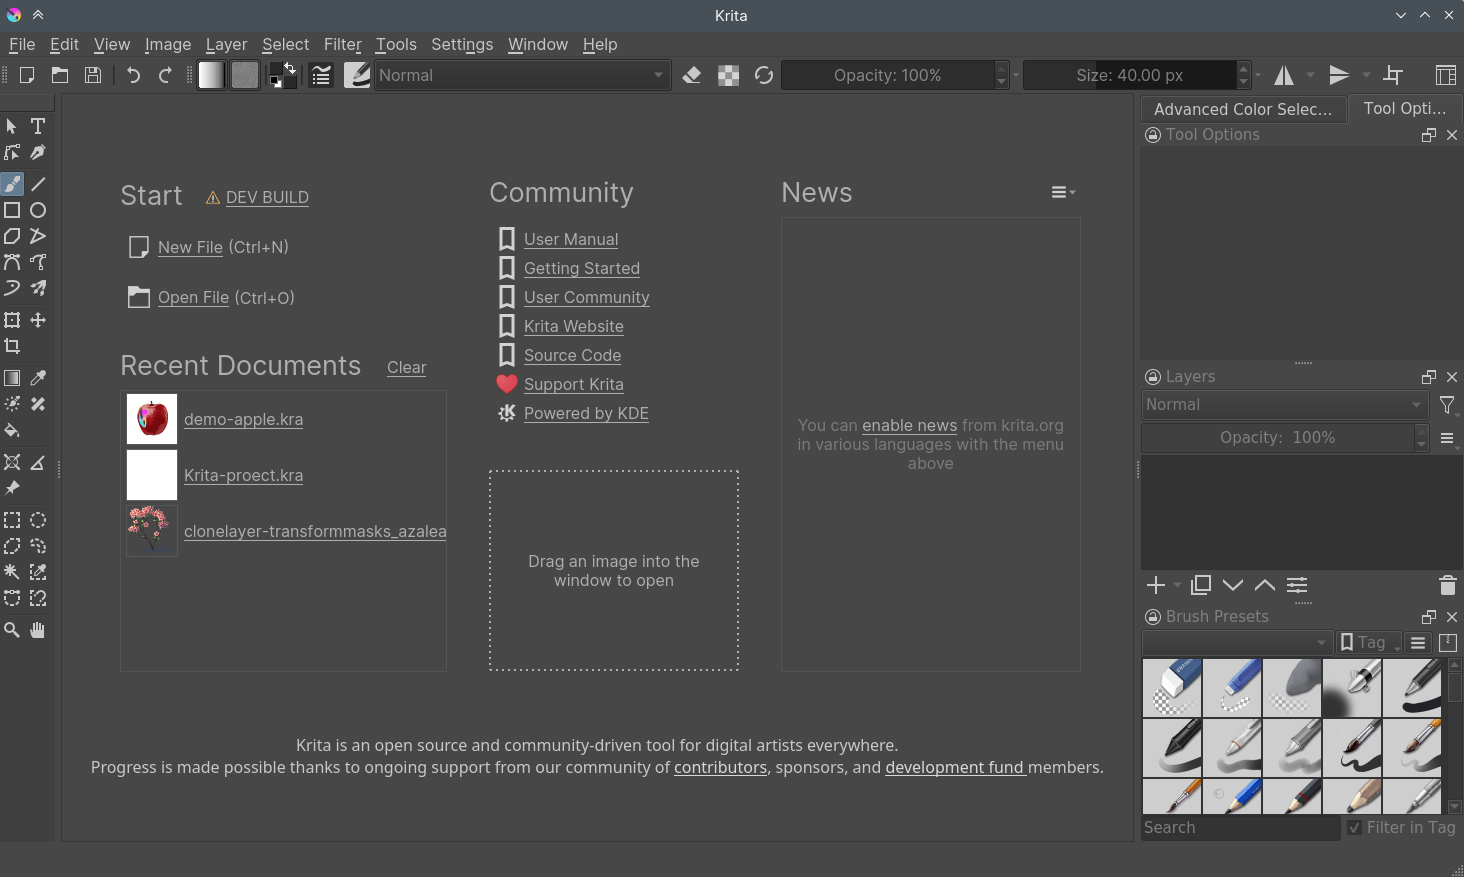
Another great program is Krita, which is close to GIMP in functionality, but also looks more like Photoshop.
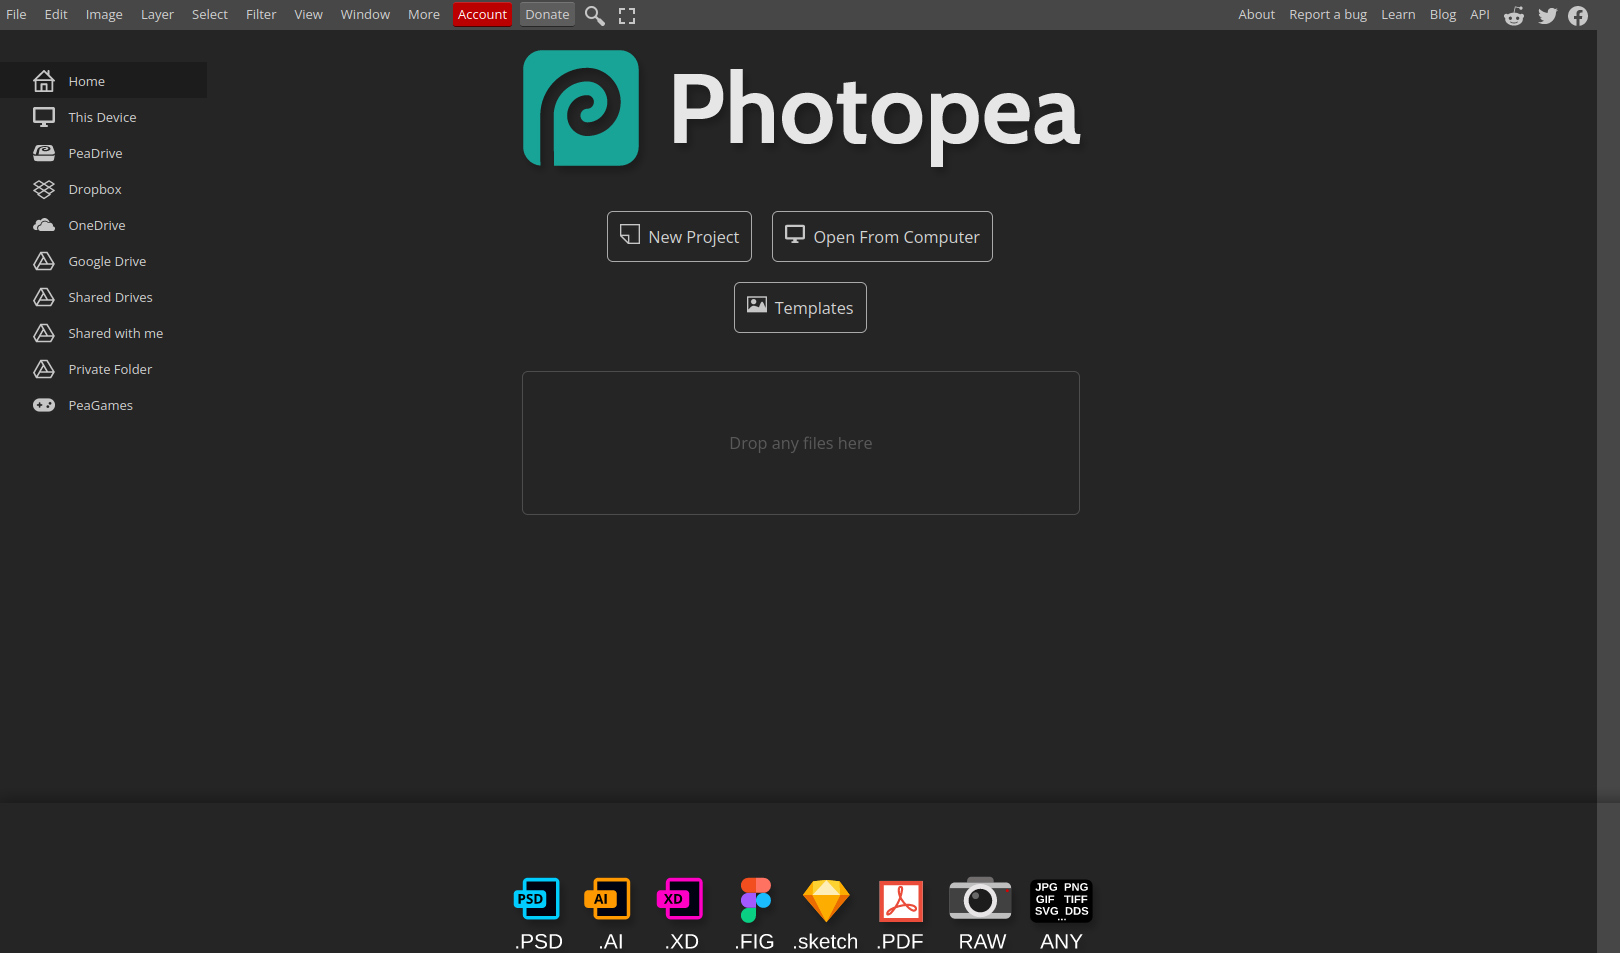
A third option is a web browser-based photo editing tool called Photopea. It has a Photoshop-like user interface and it runs best on Chromium-based browsers. But I would give it a try on Firefox since no installation is required.
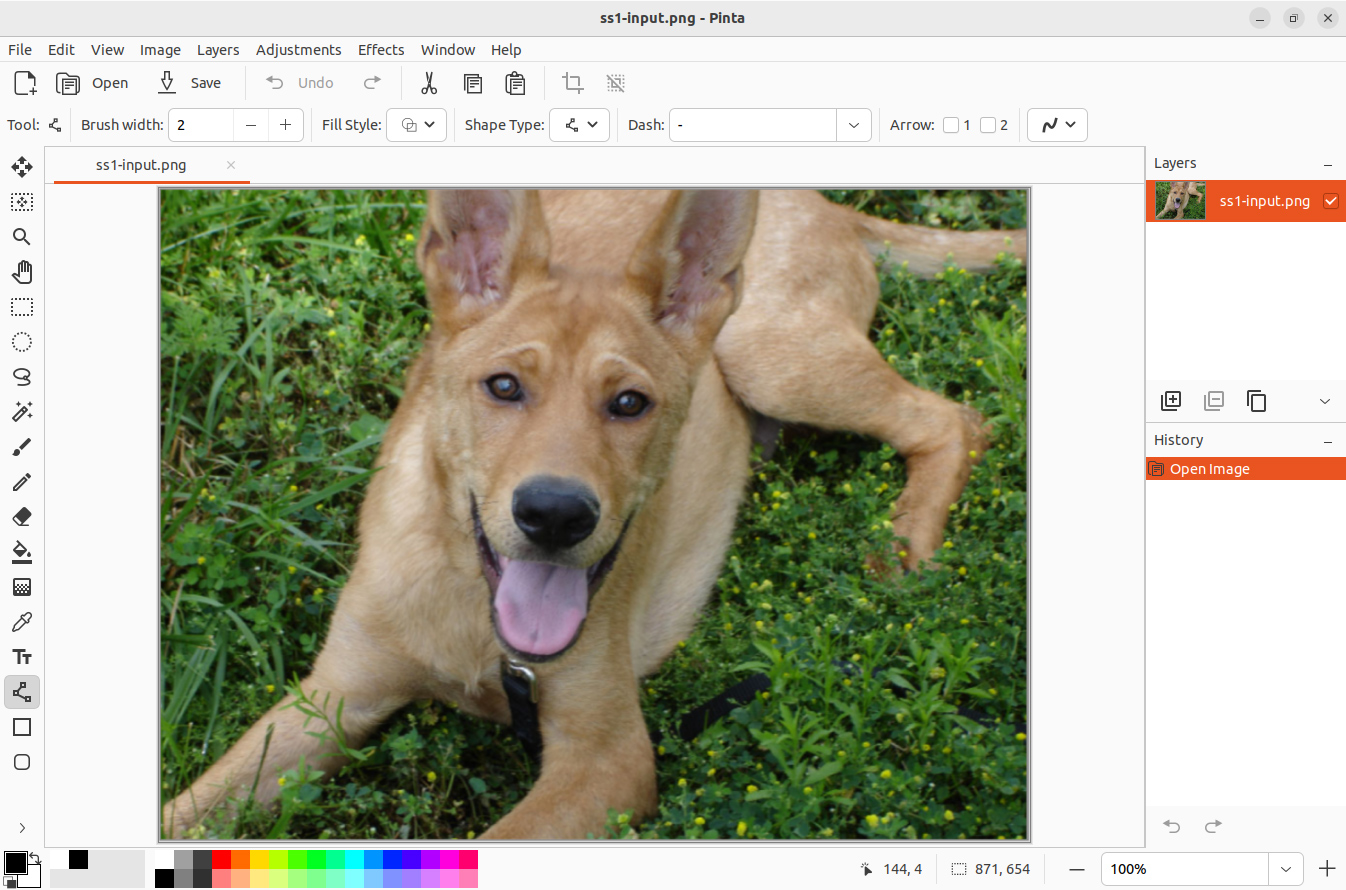
Another option that looks similar to Photoshop, but doesn’t have as many extensive features as the other alternatives is Pinta. It works on Linux natively.
Conclusion on using Photoshop on Linux (Ubuntu)
In this article, we discussed how to install or port Adobe Photoshop on Ubuntu Linux and whether it is worth doing so or choosing from free alternatives. We also mentioned WinApps, a Github project worth checking out.
My personal recommendation is that it is always good to know Adobe Photoshop, but it is even better if you learn how to use a free Linux alternative. Most importantly always do your research properly online before making a decision.
3 thoughts on “How to Install and Use Adobe Photoshop on Ubuntu”
None of the “alternatives” that you mention are really alternatives to Photoshop for photo processing.
Instead you should look at programs such as Darktable (https://www.darktable.org/) or Digikam (https://www.digikam.org/).
No, those are not alternatives, not if you’re trying to do any kind of game dev or game art. And if you’re not doing game dev or game art, why are you talking about Linux and Photoshop at all?
>GIMP
Can’t do DDS files with the BC7 compression algorithm that is now the universal standard. Just pukes up “unsupported format” errors when you try to open such a file and occasionally hard-crashes KDE too. This has been a known problem for years now. The devs say they may look at it eventually.
>Krita
Likewise can’t do anything with DDS BC7 files other than puke up error messages when you try to open them and maybe crash to desktop. Devs are silent on the matter. User support forums have goofy suggestions like “well just install Windows and use this Windows-only Python program that converts DDS into TGA to open them for editing! What, you’re using Linux right now? You need to export these files as DDS BC7? I dno lol” Yes, yes, yes. That’s very helpful. I’m suitably impressed.
>Pinta
Can’t do DDS at all, can’t do PSD at all. Who is the audience for this? Who is the intended end user? Why bother with implementing layers at all if you aren’t going to put in support for PSD and the current DDS standard? At the current developmental stage, there is no point, unless it was just supposed to be a proof of concept.
“…plenty of free and open-source tools that are very similar to Photoshop.”
NO! Definitely not. If there were, I would be using them. I have been a fine art photographer for more than 40 years and most definitely DO NOT use Photoshop because I love Adobe. I use it because nothing else can do the job. Please stop suggesting crippled and completely inadequate FOSS imposters that do not work. I love Linux and have three Linux machines for every one Mac (30+ year user), but some software packages have no substitute.