If you’re making the transition from Mac or Windows over to Linux, the method of flashing Ubuntu to your USB and installing Linux onto your computer can make or break your entire experience. Today, I’m going to go through the steps so that you can successfully install Ubuntu on your PC.
First Thing’s First: The Prerequisites
Go ahead and click on the links below to install Etcher and the Ubuntu ISO file.
Let’s Begin The Process of Installing Ubuntu 20.04
Once you’ve installed Etcher, you’ll want to open it.
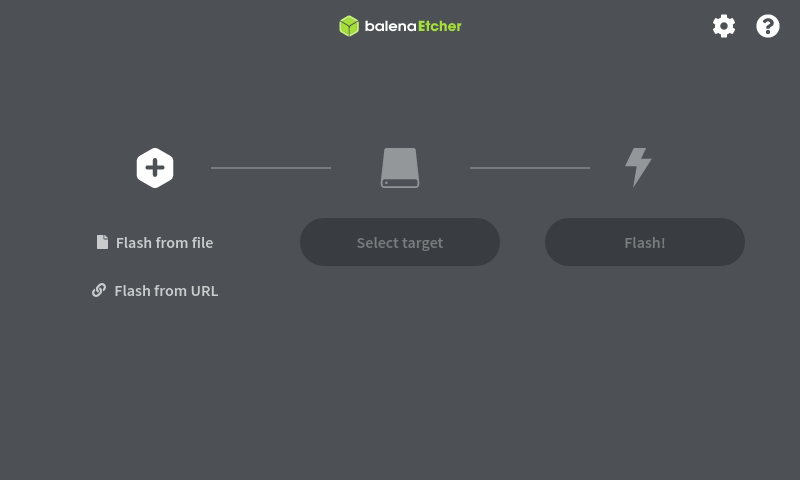

You’ll want to select “Flash from file.” You will then choose the ISO file, as shown below.
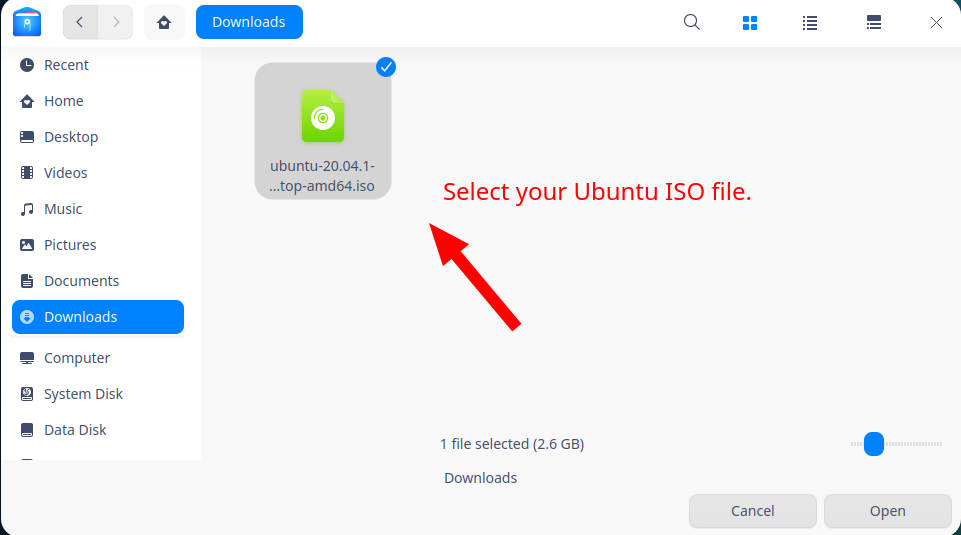

Next, you will be taken back to Etcher’s window. Move to “Select target” and select your USB drive.
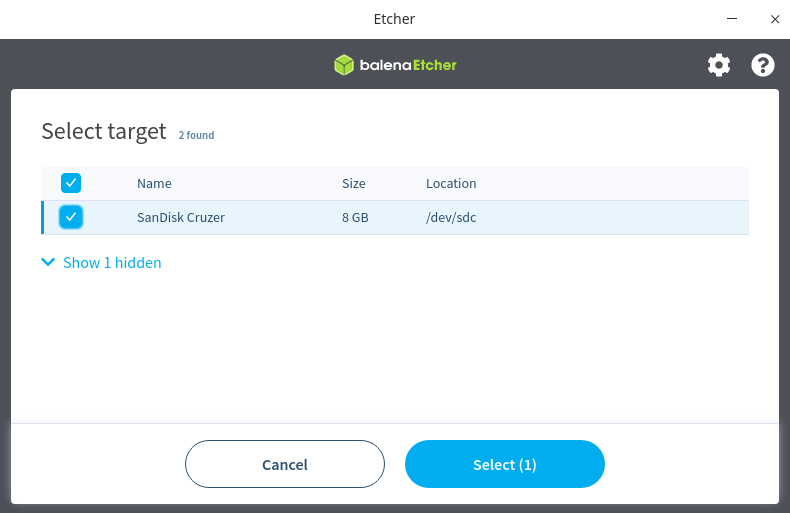

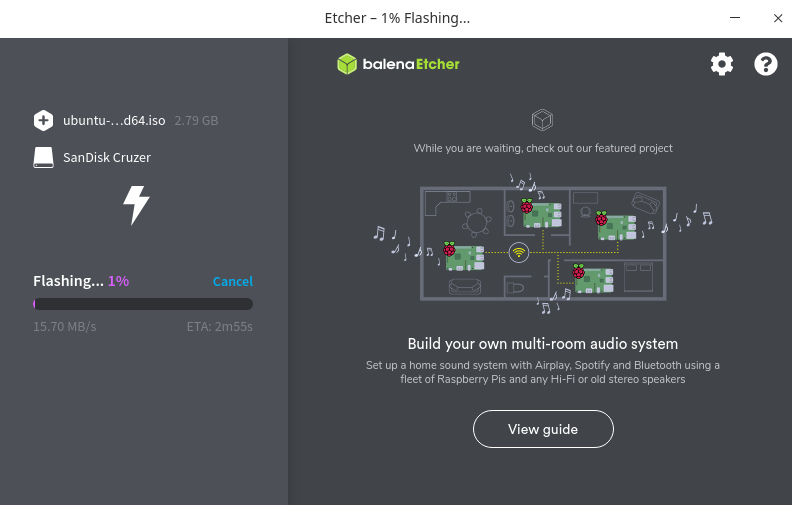
Check off the desired flash drive and hit “Select”, as shown above. The window will close, and you’ll be taken back to the main Etcher screen. Hit the third and final button, “Flash!” It’ll begin flashing, as shown below.

Prefer watching a video? Here’s a quick recap.
Once Etcher is finally finished flashing, it’ll tell you. You’ll then want to turn off your PC and turn it back on. Hit the BIOS function key for boot options immediately. The key is either F2, F10, or F12. You’ll see something like the screen below.
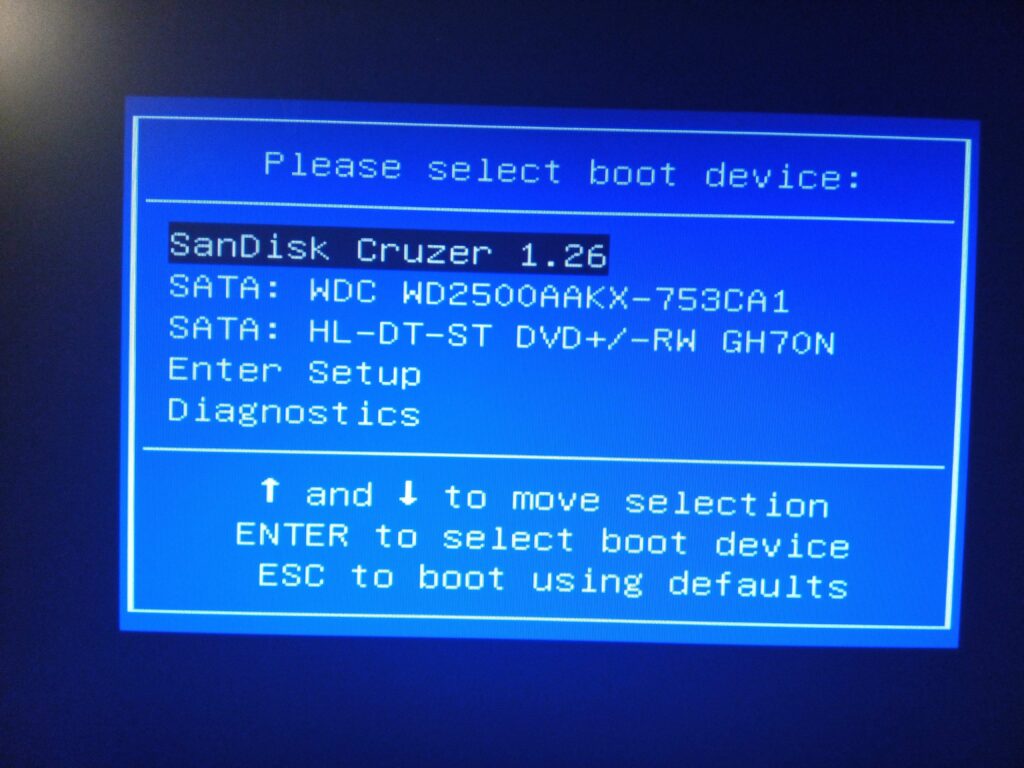

Select whichever option resembles your USB flash drive, and then hit enter.
It’ll boot into Ubuntu. When given the choice, select “Try Ubuntu.”
You’ll then see the Ubuntu desktop, like so.


Select “Install Ubuntu 20.04 LTS” as you see in the screenshot above.
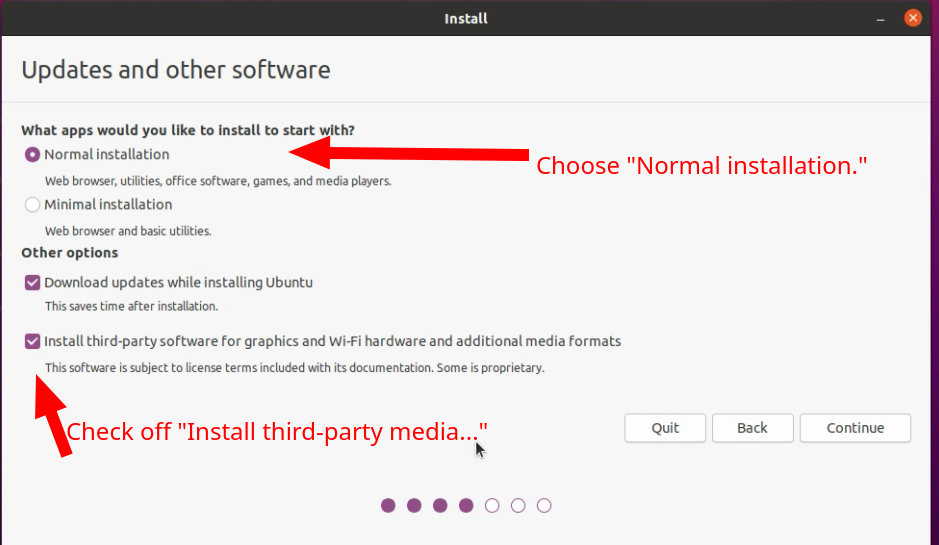

Check off “Normal installation” and “Install third-party…”, as shown in the screencap above.
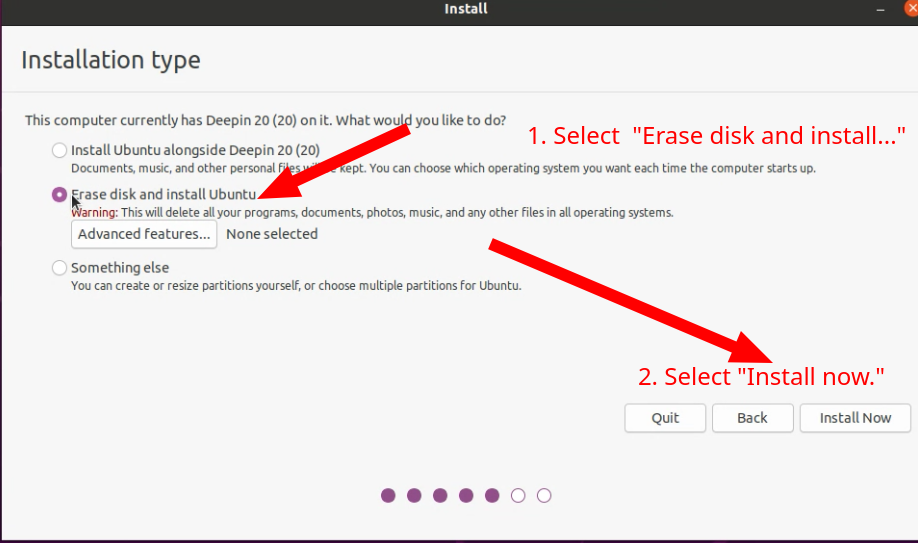
You’ll now be taken to the section where you will choose the installation type. Full disk or partition.
- Select “Erase disk and install Ubuntu.”
- Click “Install now.”

Prefer watching videos?
You’re done!
Happy Linux, everyone!

